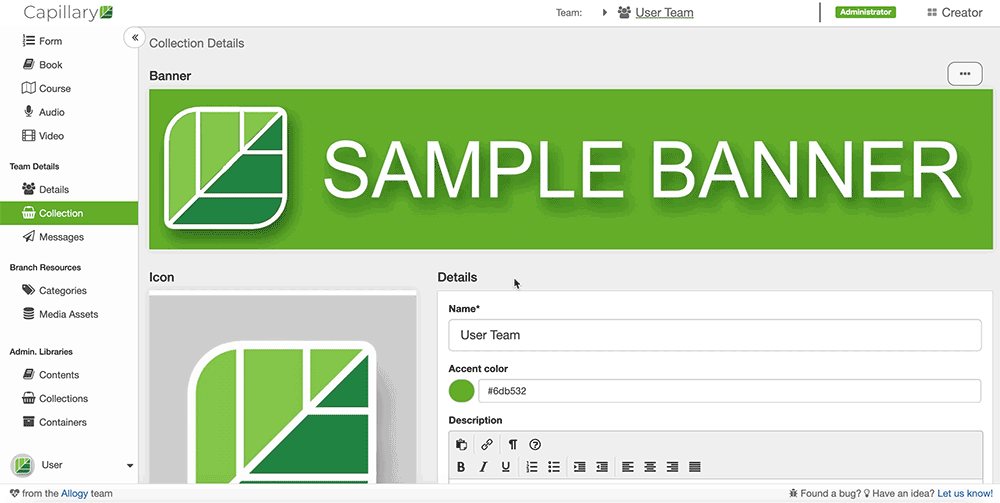
THE BRANCH Resources area in the left-navigation menu of the Creator view allows you to manage categories and media assets across your branch.
Categories
The Categories section displays all of the branch’s available categories and domains and allows you to view and edit existing categories and domains as well as create new ones.
To create a new category, click the green “Create New Category” button near the top right. The resulting popup window requires you to title the category and connect it to the desired application and allows you to add an optional description. The “Show Advanced Options” button allows you to restrict the category to certain content-types by clicking on the checkbox to the left of the desired content-type.
To create a new domain, click the green “+ Create New Domain” button near the top left. The resulting popup window requires you to title the domain and connect it to the desired application and allows you to add an optional description. Once the domain has been created, you can then connect categories to the domain. To connect a category, find the desired category under Available Categories and click the green arrow to the right of the category to move it to Currently Connected. To remove a category from a domain, click the red “x” to move it back to Available Categories.
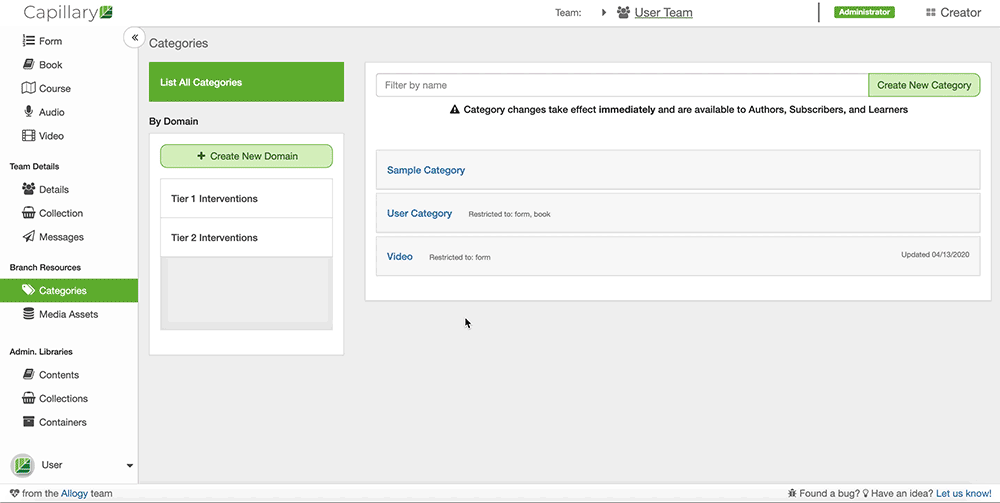
Clicking into any existing domain or category allows you to edit the details about said domain or category.
Media Assets
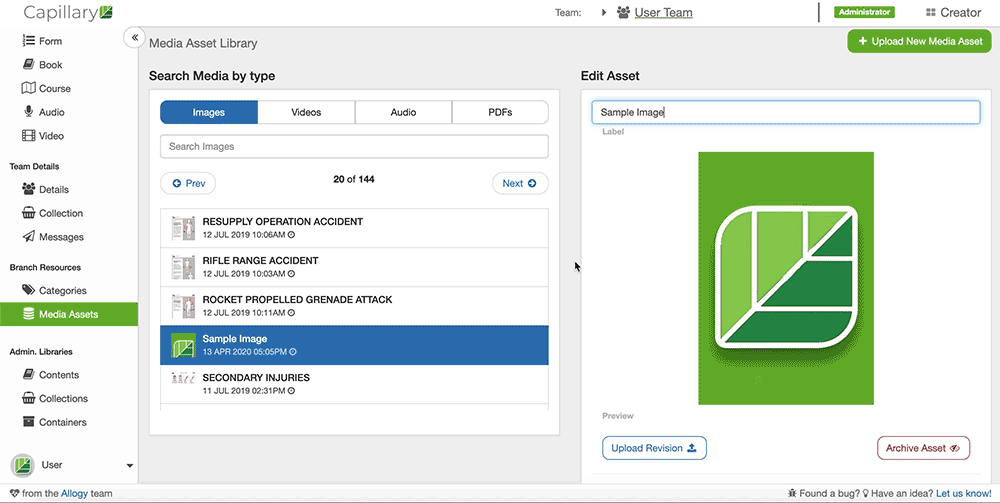
The Media Assets section contains all of your branch’s uploaded media (images, video, audio, PDF). You can upload new media here to use in content creation by clicking the green “+ Upload New Media Asset” button at the top right. In the resulting popup window, select the type of media you want to upload, then click on the blue “Click or Drop File” button to choose your file. Once your file is chosen, it will display a preview and some metadata information about your file. You must label your new media asset before uploading. Once your file is chosen and is properly labeled, click the green “Upload” button to upload the media asset.
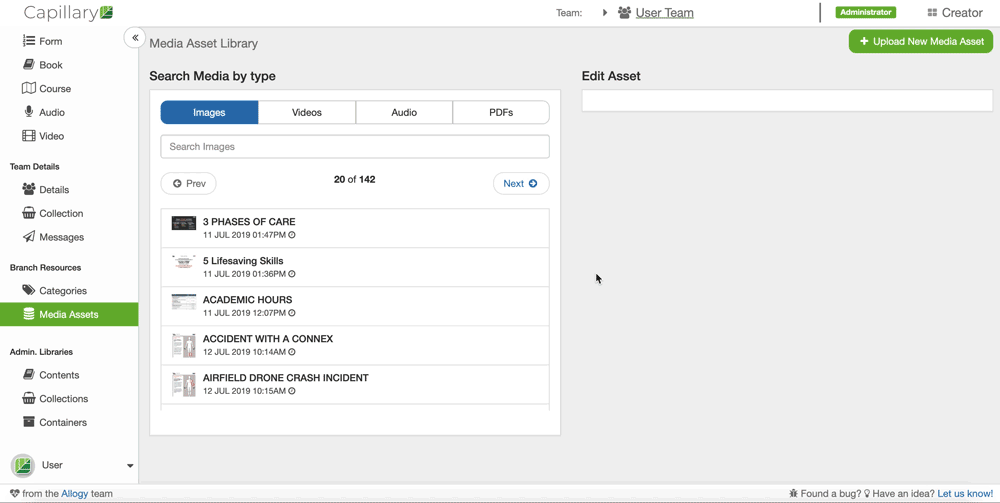
You can also view and edit any media asset from this section. The tabs at the top allow you to navigate between media-types, and clicking into a media file will allow you to change its details and even upload different media or archive your media.
To upload different media, click on the media file, then click “Upload Revision” and follow the same instructions for uploading new media.
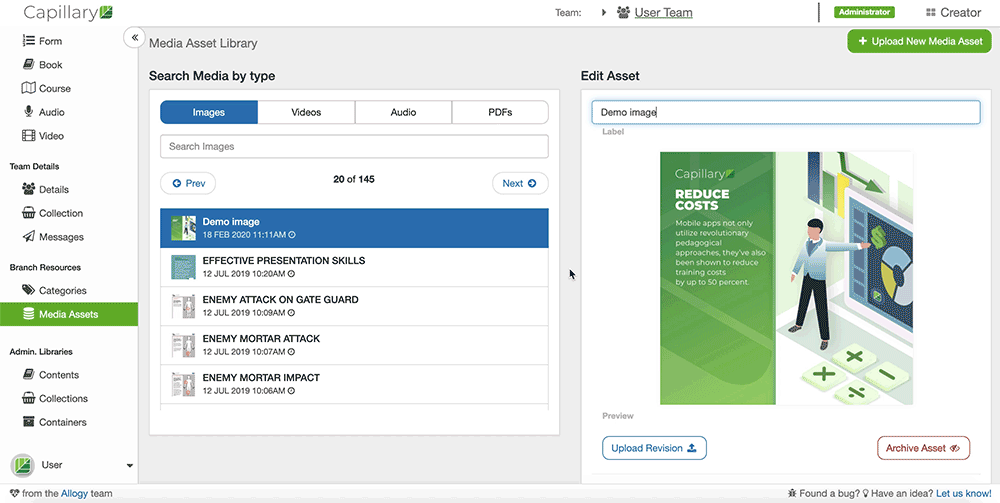
To archive media, click on the asset in your Media Assets you wish to archive. Click “Archive Asset.” A popup window will open with a warning that archiving media cannot be undone. If you’re sure you want to archive the media asset, type “ARCHIVE” to confirm and click “Archive Media Asset.”
NOTE: Archiving media assets cannot be undone. Once you've archived a media asset:
Any content that already uses this media asset will continue to be available for learners, and you may continue to publish that content without fear of a missing or deleted asset.
However:
You will not be able to update or revise this media asset.
This media asset will no longer be available for future content building.
Archiving an asset will not remove it from published content or create any broken images or content gaps, however, the asset can no longer be retrieved, edited, updated, or used in building future content. The best practice is to consider editing or uploading a revision of your media asset before archiving it.